Okay, here’s my attempt at a blog post about making Kobe earrings, just like you asked, all from my own experience:
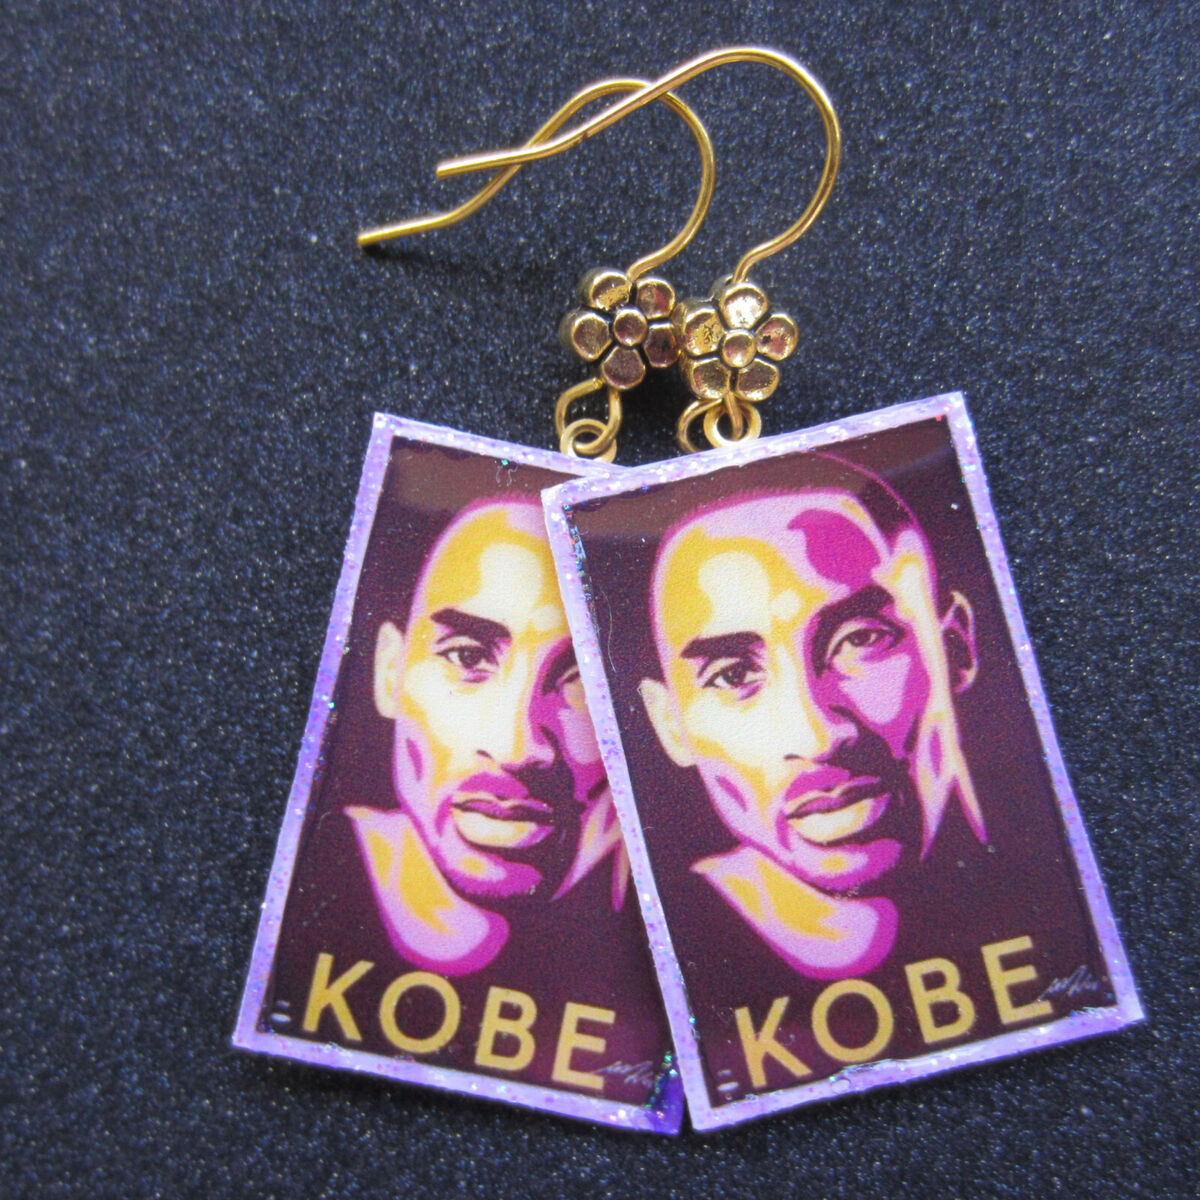
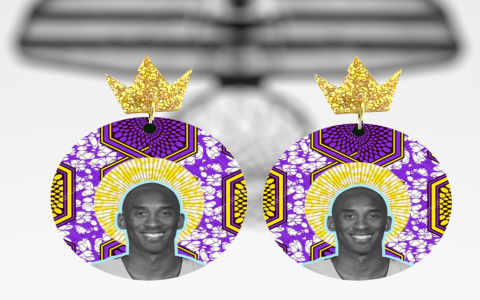
Alright folks, so lately I’ve been obsessed with making earrings. I saw some Kobe Bryant-inspired ones online and thought, “Hey, I can totally do that!” So, I jumped right in.
First things first, I needed a design. I’m not the best artist, so I kept it simple. I decided to go with Kobe’s jersey number – 24 – in a cool, blocky font. I messed around in a free online graphic editor until I got something I liked. Then, I printed it out, making sure it was the right size for earrings – not too big, not too small.
Next up, materials. I went to my local craft store and grabbed some polymer clay in Lakers colors – purple, gold, and a bit of black for outlining. I also picked up earring hooks, jump rings, pliers (essential!), and some glaze to give ’em a nice shine.
Now, the fun part! I rolled out the purple clay and used my printed number 24 as a template. I carefully cut around the template with a craft knife. This was a bit tricky, gotta take your time to get clean lines. I did two of these, one for each earring.
Then, I rolled out thin snakes of the gold and black clay. I used the gold to create the number “2” and “4” on the purple background. This was fiddly work, needing steady hands and a toothpick to nudge the clay into place. I then used super tiny black snakes to outline the gold numbers, making them pop.

Once the clay numbers were looking good, I baked them according to the polymer clay instructions. It’s super important to follow the baking time and temperature exactly or your earrings will crack or burn. Nobody wants burnt Kobe earrings!
After they cooled, I glazed them with a few coats of clear glaze, letting each coat dry completely before applying the next. This gave them a nice, professional-looking shine and helps protect the clay.
Finally, the assembly! I used the pliers to open the jump rings, attach them to the top of each earring, and then attach the earring hooks. And boom! Kobe earrings!
Lessons Learned:
- Patience is key! Don’t rush the clay cutting or detailing.
- Use a good quality glaze. Cheap glaze can be sticky or cloudy.
- Invest in some decent pliers. Makes the jump ring process so much easier.
I’m pretty happy with how they turned out. They’re not perfect, but they’re definitely recognizable and a fun way to show some love for the Mamba. I’m already planning my next pair – maybe with his silhouette next time! Stay tuned!


